VueMastery

Appearance
提示:
如果这篇文章对你有帮助,请给个免费的一键三连 + 关注吧,非常感谢。您的支持是我持续更新的动力,每周会定期分享实用技术干货,期待与你共同成长!关注公众号,实时获取更多技术干货。

本文项目搭建演示的
nodejs版本如下:
$ node -v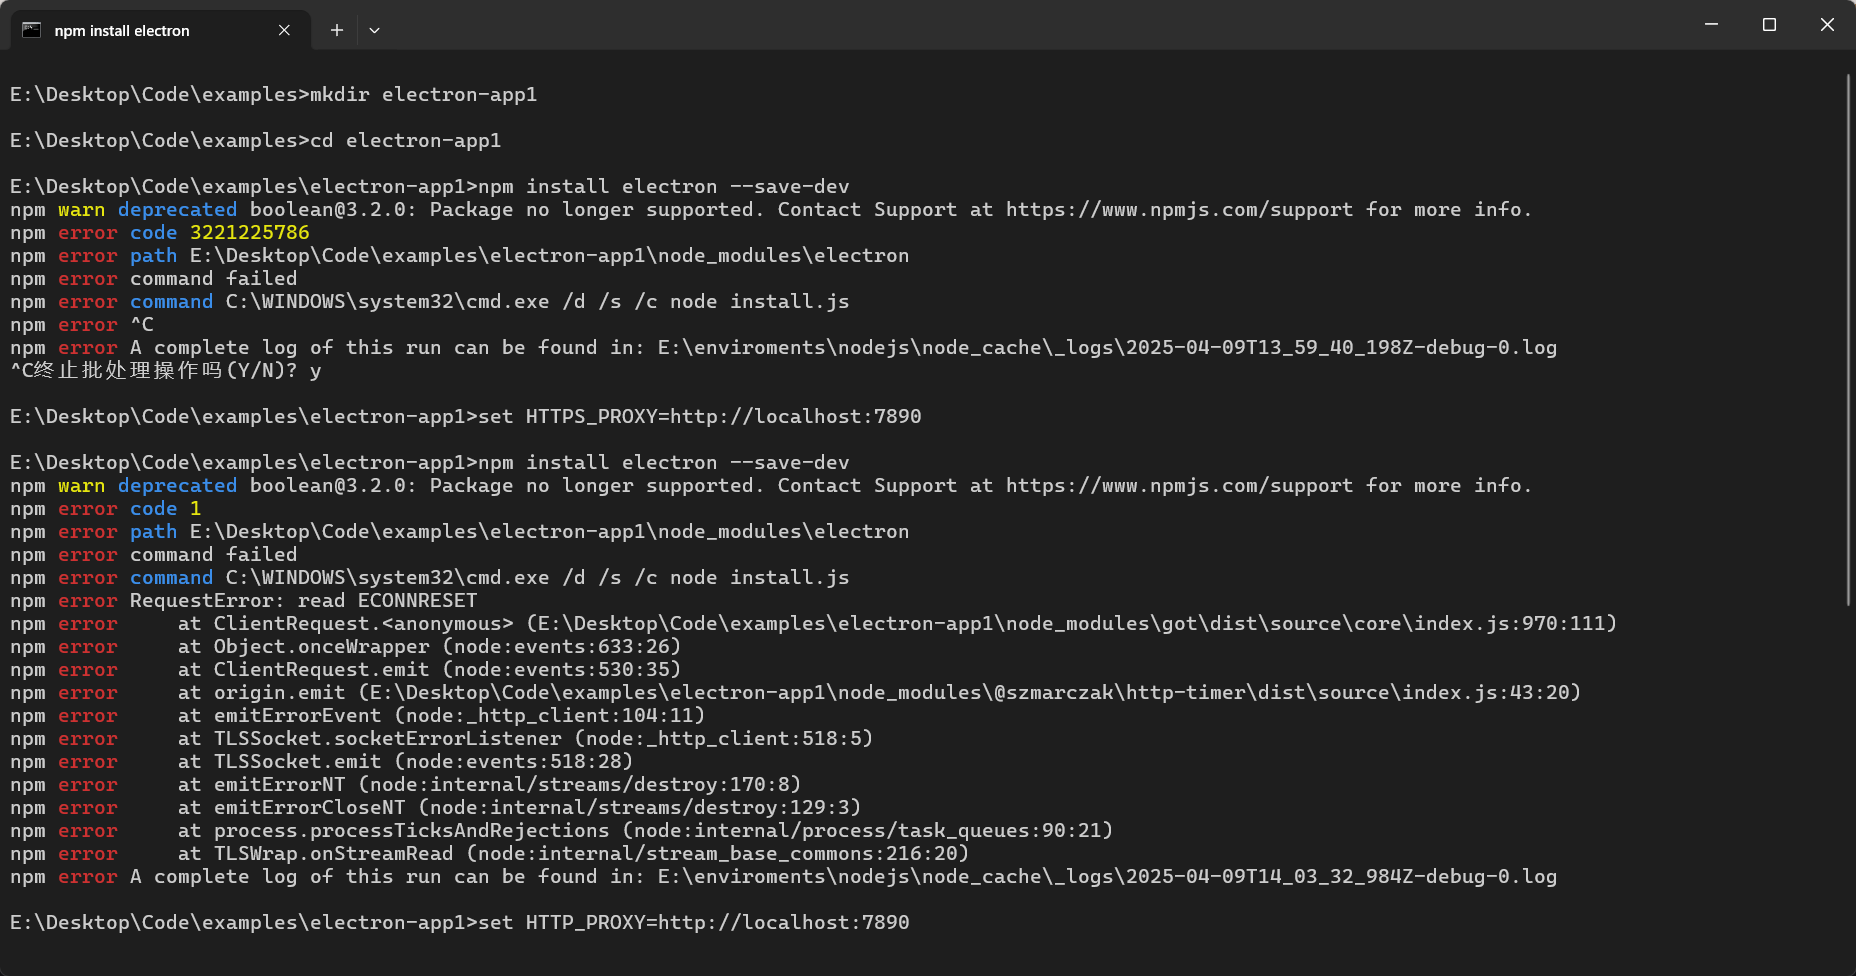
# v22.14.0文档地址:快速入门 | Electron,按照文档步骤操作即可,项目只包含了electron依赖,仅仅只是一个hello world展示。
⚠️ 注意:失败!我设置了代理(网络问题)和切换镜像源(淘宝)等操作都没用。截图如下:
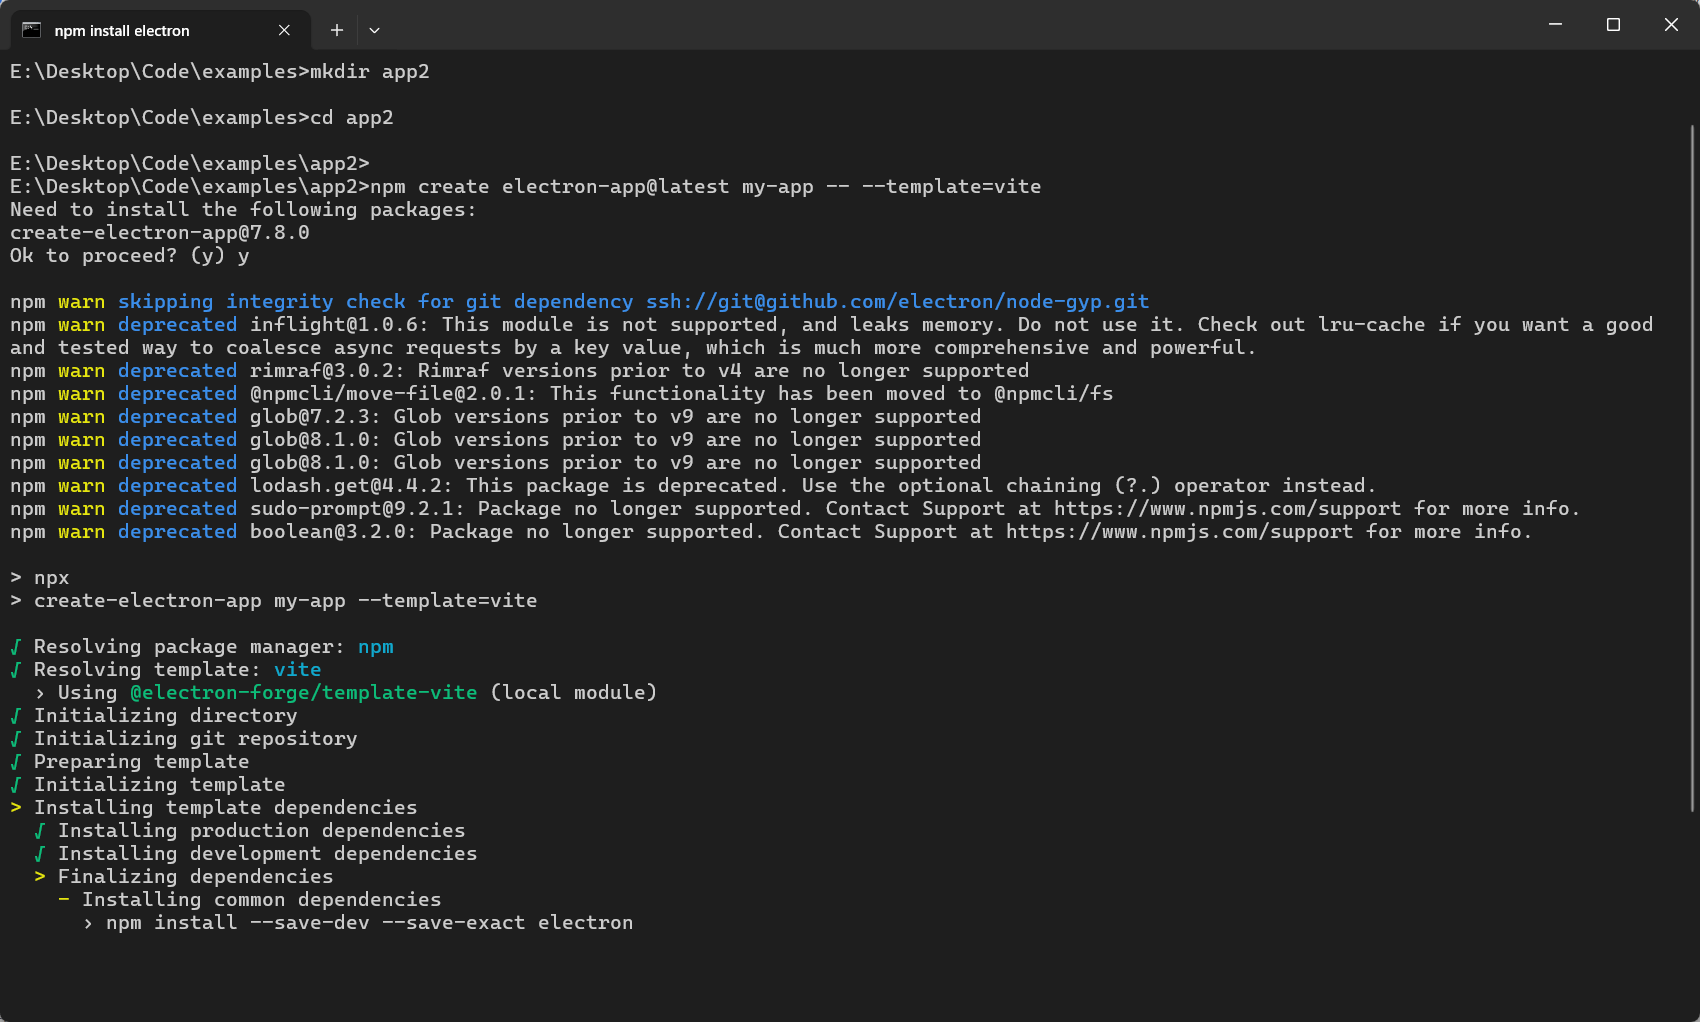
$ npm init electron-app@latest my-app -- --template=vite  #my-app:项目名(自定义)
# 或
$ npm create electron-app@latest my-app -- --template=vite #my-app:项目名(自定义)
# 或
$ pnpm create electron-app my-app --template=vite #my-app:项目名(自定义)⚠️ 注意:不配置代理,网络不稳定(配置了代理还是等待大半天),等待半天的安装进度,(可能)最后还是大概率会失败!截图如下:
该模板并非
vite官方提供,而是一位就职于哈啰的大神草鞋没号提供的。此模板是综合了electron + vite + ts技术的开箱即用的项目模板,目前支持选择Vue、React、Vanilla三种方式的任意一种来直接创建项目。
Github 作者: Github 网址
创建项目命令如下:
$ npm init electron-vite@latest my-app #my-app 项目名称
# 或
$ npm create electron-vite@latest my-app #my-app 项目名称
# 或
$ pnpm create electron-vite my-app #my-app 项目名称
# 或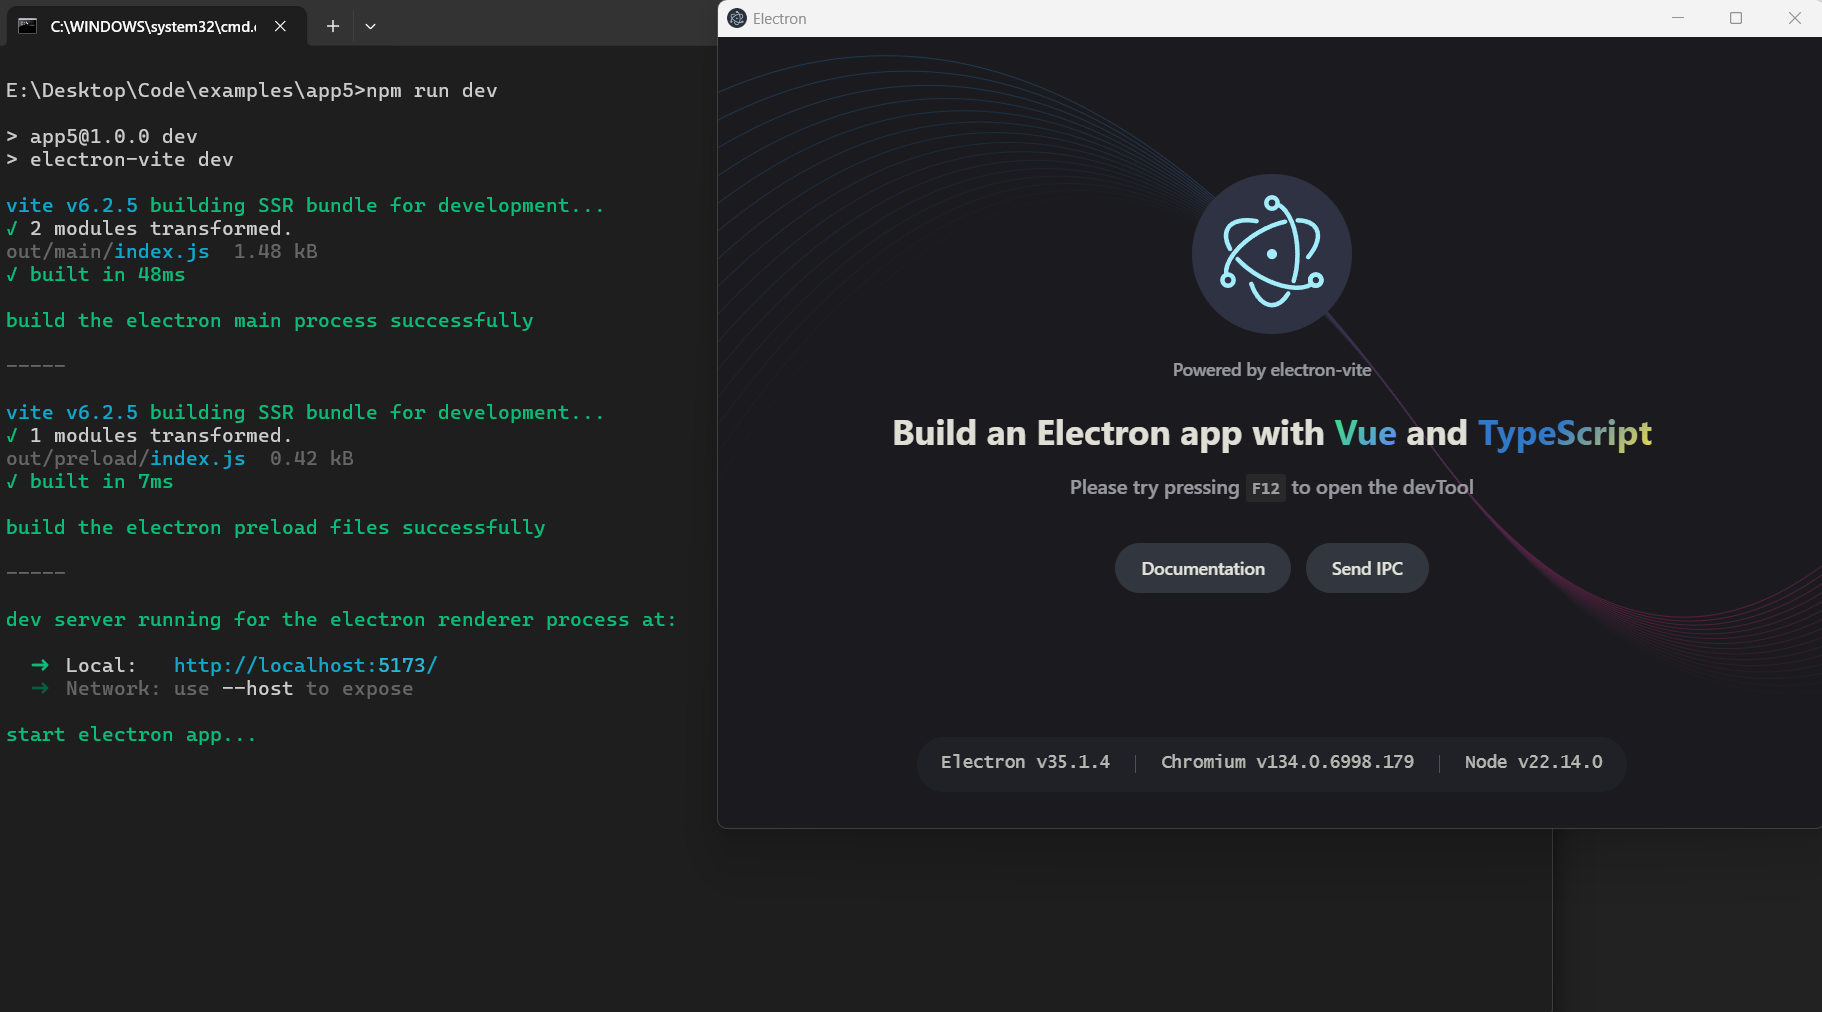
$ yarn create electron-vite my-app #my-app 项目名称✅ 目前我使用这个模板创建项目和安装依赖、运行项目、打包发布项目等都没有问题,还是挺不错的。项目文档和 github 仓库已经放在上方,大家有问题可以去给作者提 issue。🫡
npm create electron-vite@latest app3演示创建项目,无需代理,如果慢的话,可以尝试切换镜像源。创建项目并运行起来的截图如下: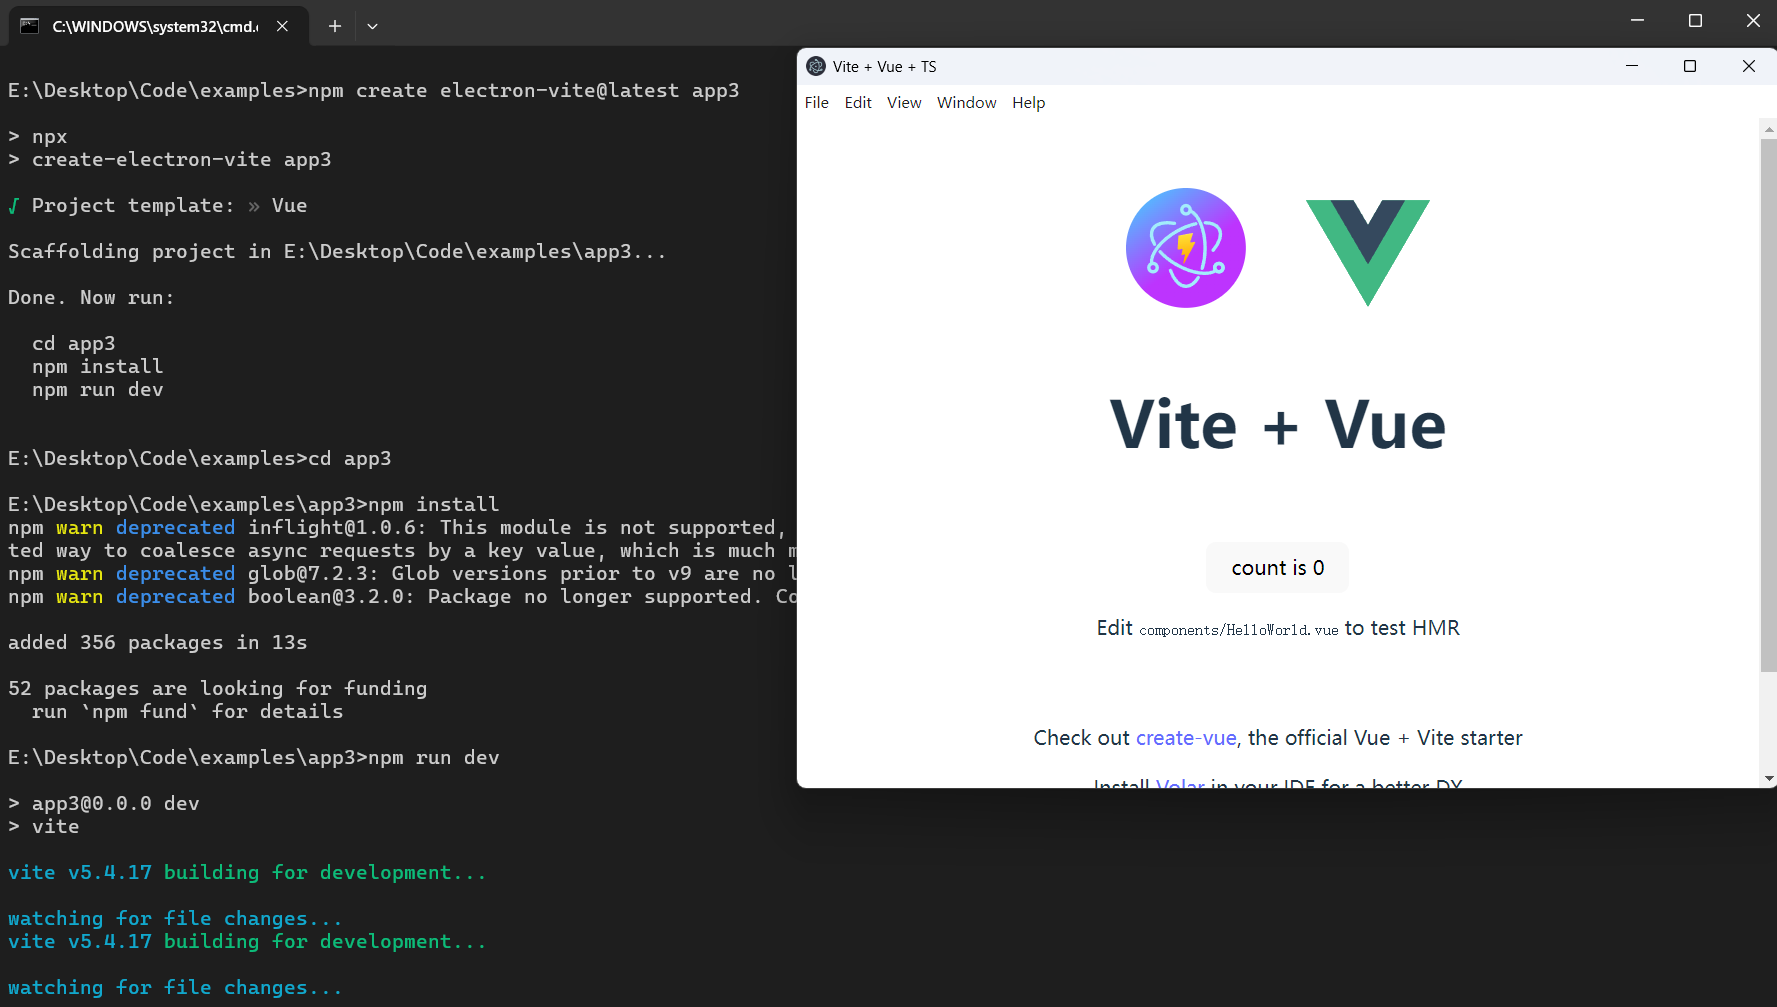
$ npm create vite@latest项目名称 、选择框架类型(框架类型需要选择Other),然后就会回到前面第三种所说的创建方式了。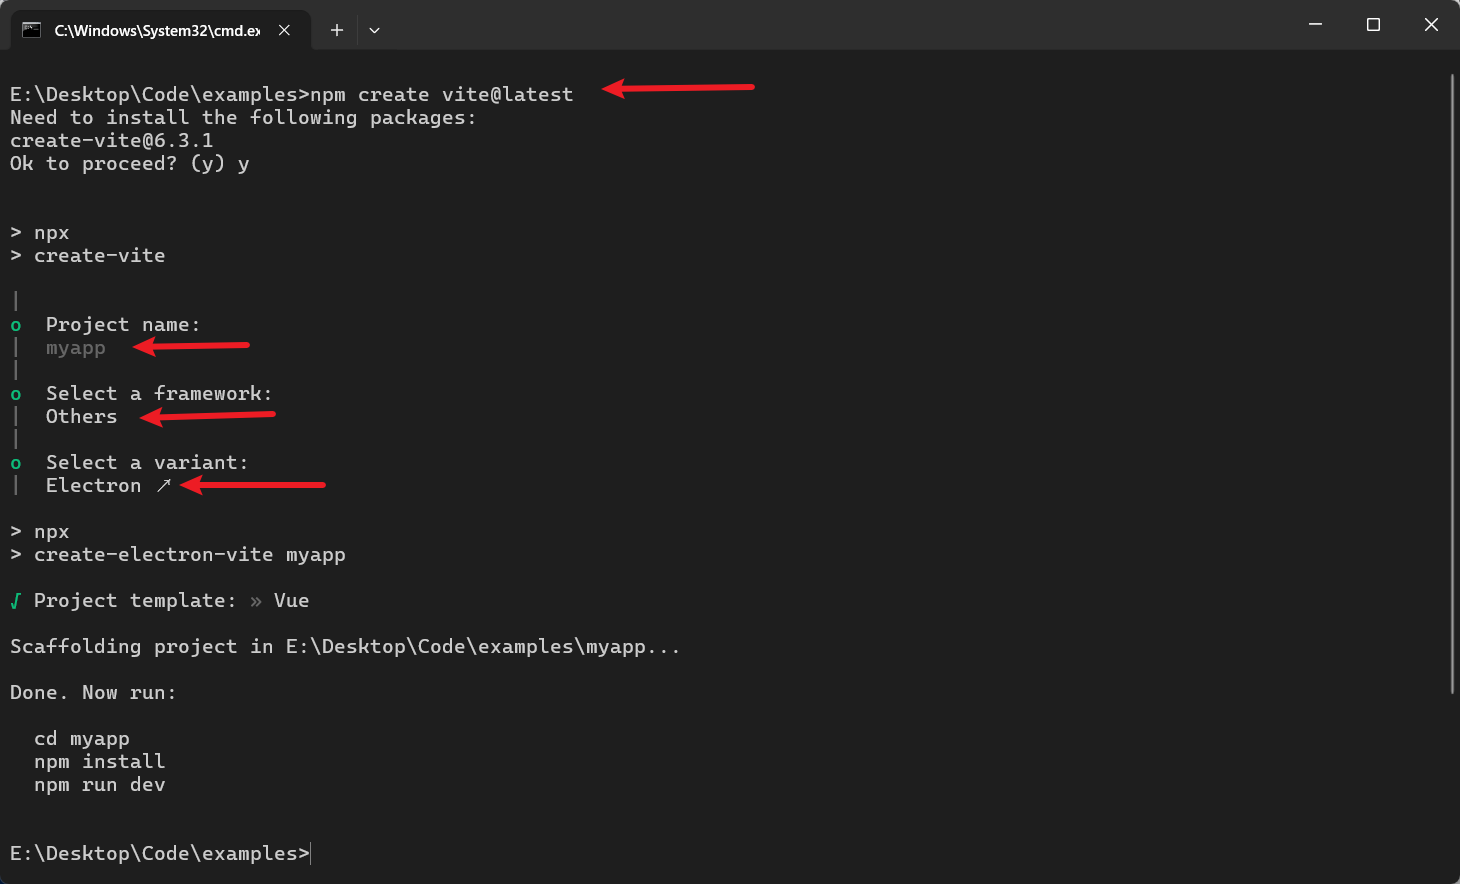
$ npm create @quick-start/electron
# 或
$ yarn create @quick-start/electron
# 或
$ pnpm create @quick-start/electron# npm 6.x
npm create @quick-start/electron my-app --template vue
# npm 7+, extra double-dash is needed:
npm create @quick-start/electron my-app -- --template vue
# yarn
yarn create @quick-start/electron my-app --template vue
# pnpm
pnpm create @quick-start/electron my-app --template vue
项目仓库:地址 🤩 上面有非常多的 electron 项目预配置好的模板,大家可以去看看,选择一个适合自己的模板进行克隆。预配置好了像各种路由、状态管理、UI 组件库等完全开箱即用的项目模板。
这里就举例说明一下,如何使用第六种方式中提到的
awesome-vite仓库中列举的模板之一electron-vue-template来快速创建项目吧。
$ git clone https://github.com/umbrella22/electron-vite-template.git myapp #myapp 自定义项目名称.npmrc文件electron_mirror=https://npmmirror.com/mirrors/electron/
electron_builder_binaries_mirror=https://npmmirror.com/mirrors/electron-builder-binaries/
shamefully-hoist=true$ npm install# windows
$ set HTTP_PROXY=http://127.0.0.1:7890
$ set HTTPS_PROXY=http://127.0.0.1:7890
# linux
$ export http_proxy=http://127.0.0.1:7890
$ export https_proxy=http://127.0.0.1:7890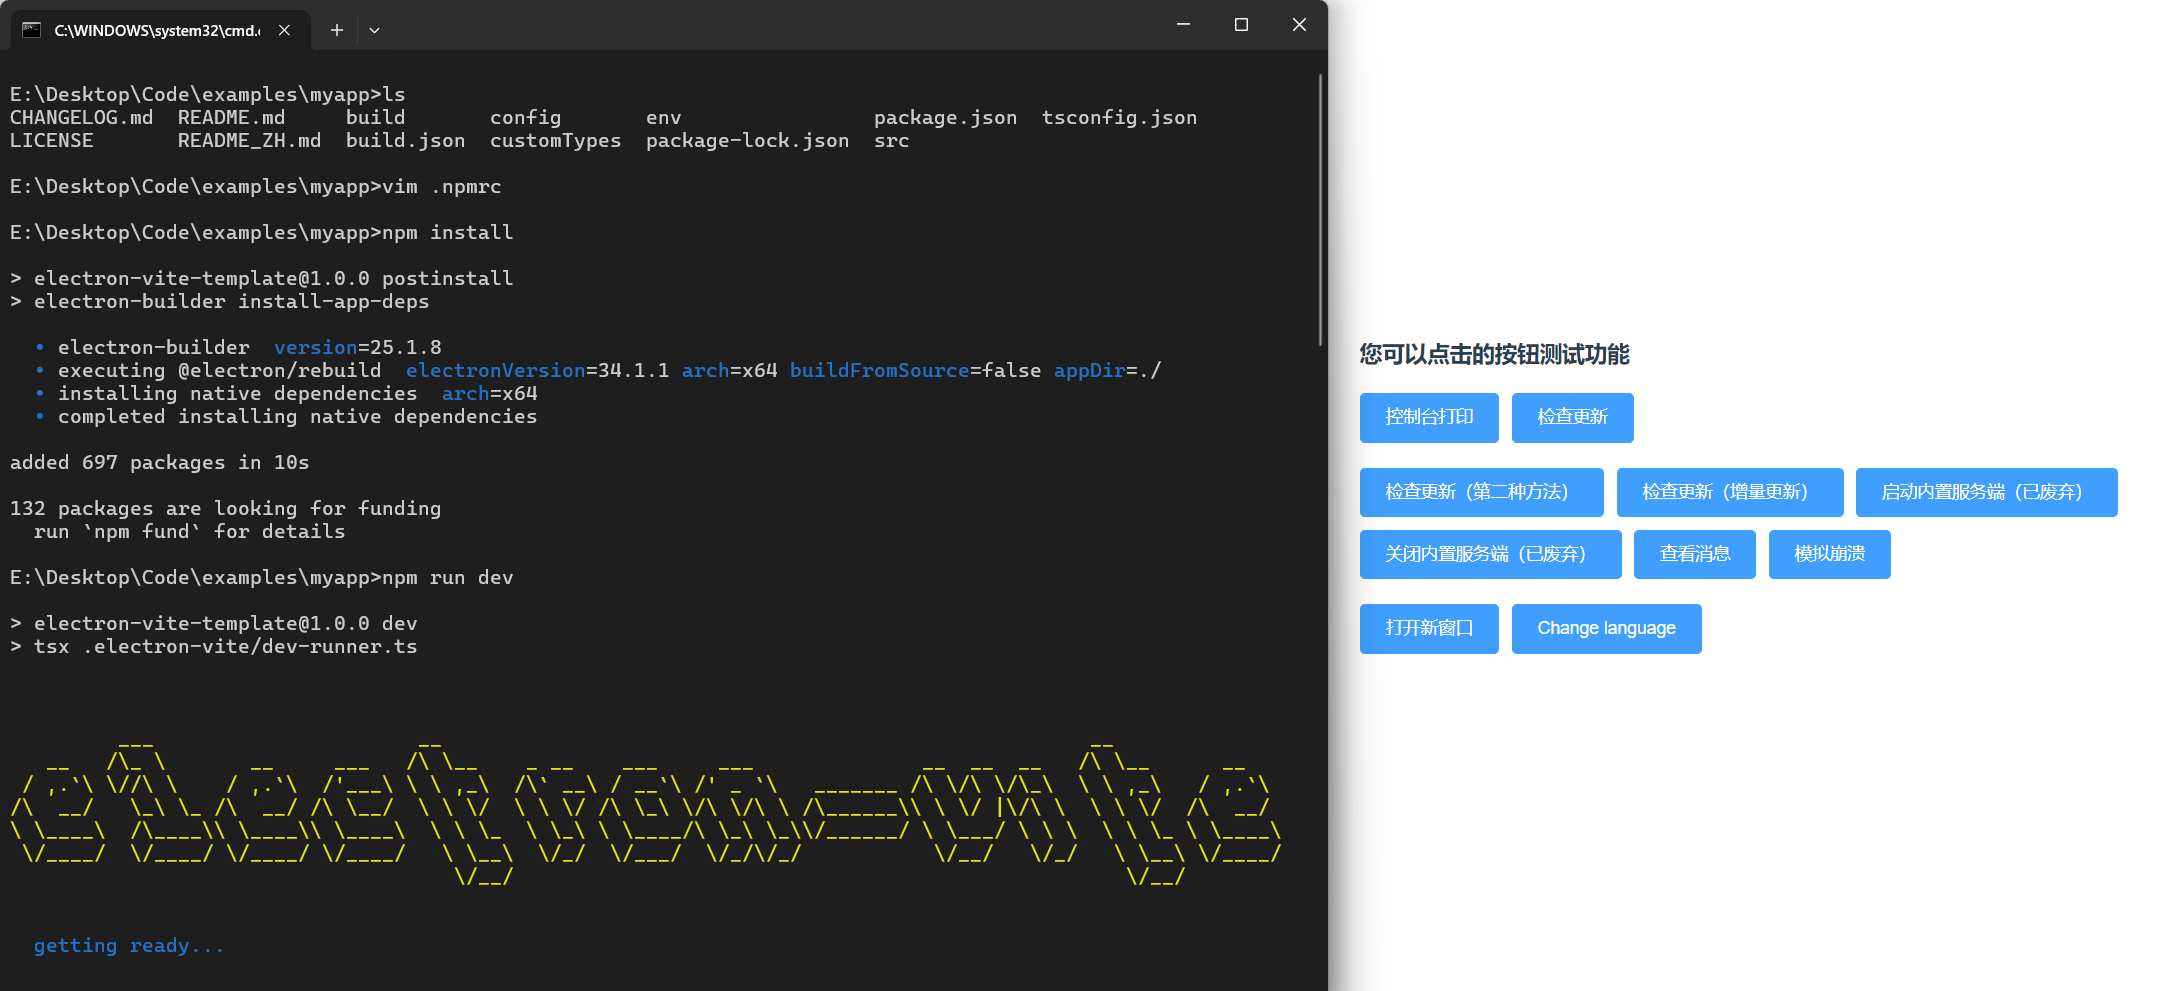
该模板相对较完善,依旧使用 vite 构建,除此之外还集成了常用的配套库,适用于electron + vue 技术栈的项目:
🙏 项目搭建测试和内容整理撰写,花费不少时间,创作不易,转载请注明出处,谢谢!